Replacing your PC’s power supply unit (PSU) is a manageable task, even for those with limited experience. This guide will provide a step-by-step walkthrough to help you through the process. Upgrading or replacing the power supply in your computer may seem daunting, but it’s an essential step in ensuring your computer’s efficiency and longevity. Let’s explore the correct and safe way to complete this task.

How to Replace the Power Supply in Your PC
Before You Begin:
- Safety First: Always unplug the power cord from your PC and the wall outlet before working inside the case. Wait a few minutes for any residual power to dissipate.
- Gather Your Tools: You’ll need a Phillips head screwdriver (usually #2), zip ties or Velcro straps (optional, for cable management), and possibly a small container to hold screws.
- Take Pictures: Before disconnecting any cables, take photos of the existing PSU and its connections. This will be invaluable during reassembly.
- Static Electricity: While less of a concern with modern components, it’s still a good idea to ground yourself by touching a grounded metal object before handling any internal components.
Step-by-Step Guide:
- Power Down and Unplug:
- Shut down your computer completely.
- Flip the power switch on the back of the PC (if it has one) to the “off” position.
- Unplug the power cord from both the PC and the wall outlet.
- Open the PC Case:
- Most PC cases have thumbscrews or regular screws holding the side panels in place. Remove these screws and carefully slide or swing open the side panel to access the interior. Consult your case’s manual if you’re unsure.
- Disconnect Cables from Components:
- Starting with the motherboard, carefully disconnect all cables from the PSU. These include:
- 20/24-pin ATX power connector: This is the largest connector on the motherboard.
- 4/8-pin EPS/CPU power connector: This usually powers the CPU.
- SATA power connectors: These power hard drives, SSDs, and optical drives.
- PCIe power connectors: These power graphics cards.
- Molex connectors: Older connectors used for various peripherals.
- Gently wiggle the connectors while pulling to avoid damaging the sockets. Do not pull on the wires themselves.
- As you disconnect each cable, refer to the pictures you took earlier to help you remember where it goes.
- Starting with the motherboard, carefully disconnect all cables from the PSU. These include:
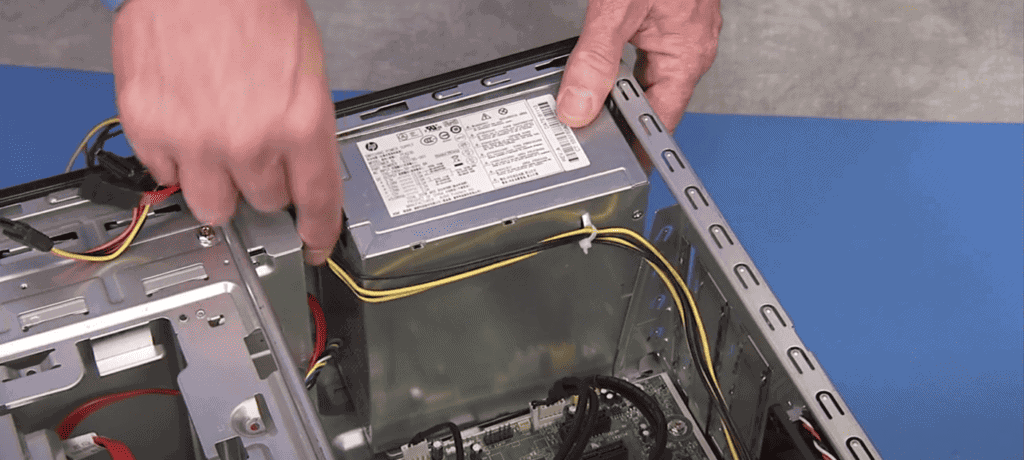
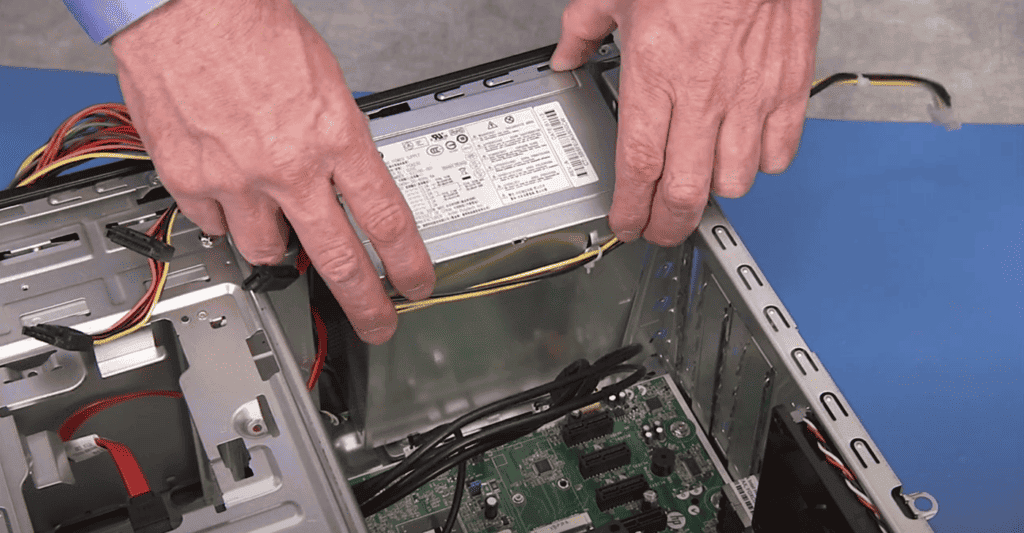
- Remove the Old PSU:
- The PSU is typically secured to the back of the case with four screws. Remove these screws.
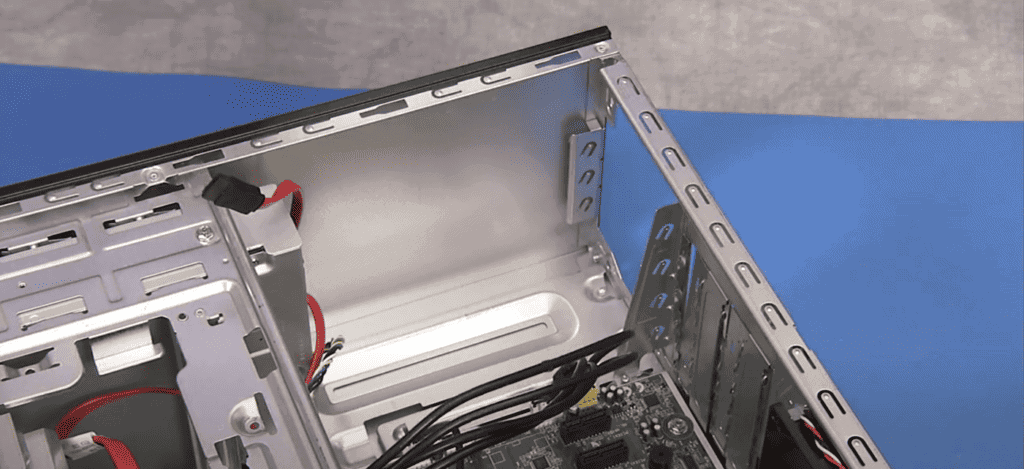
- Carefully slide or lift the old PSU out of the case.
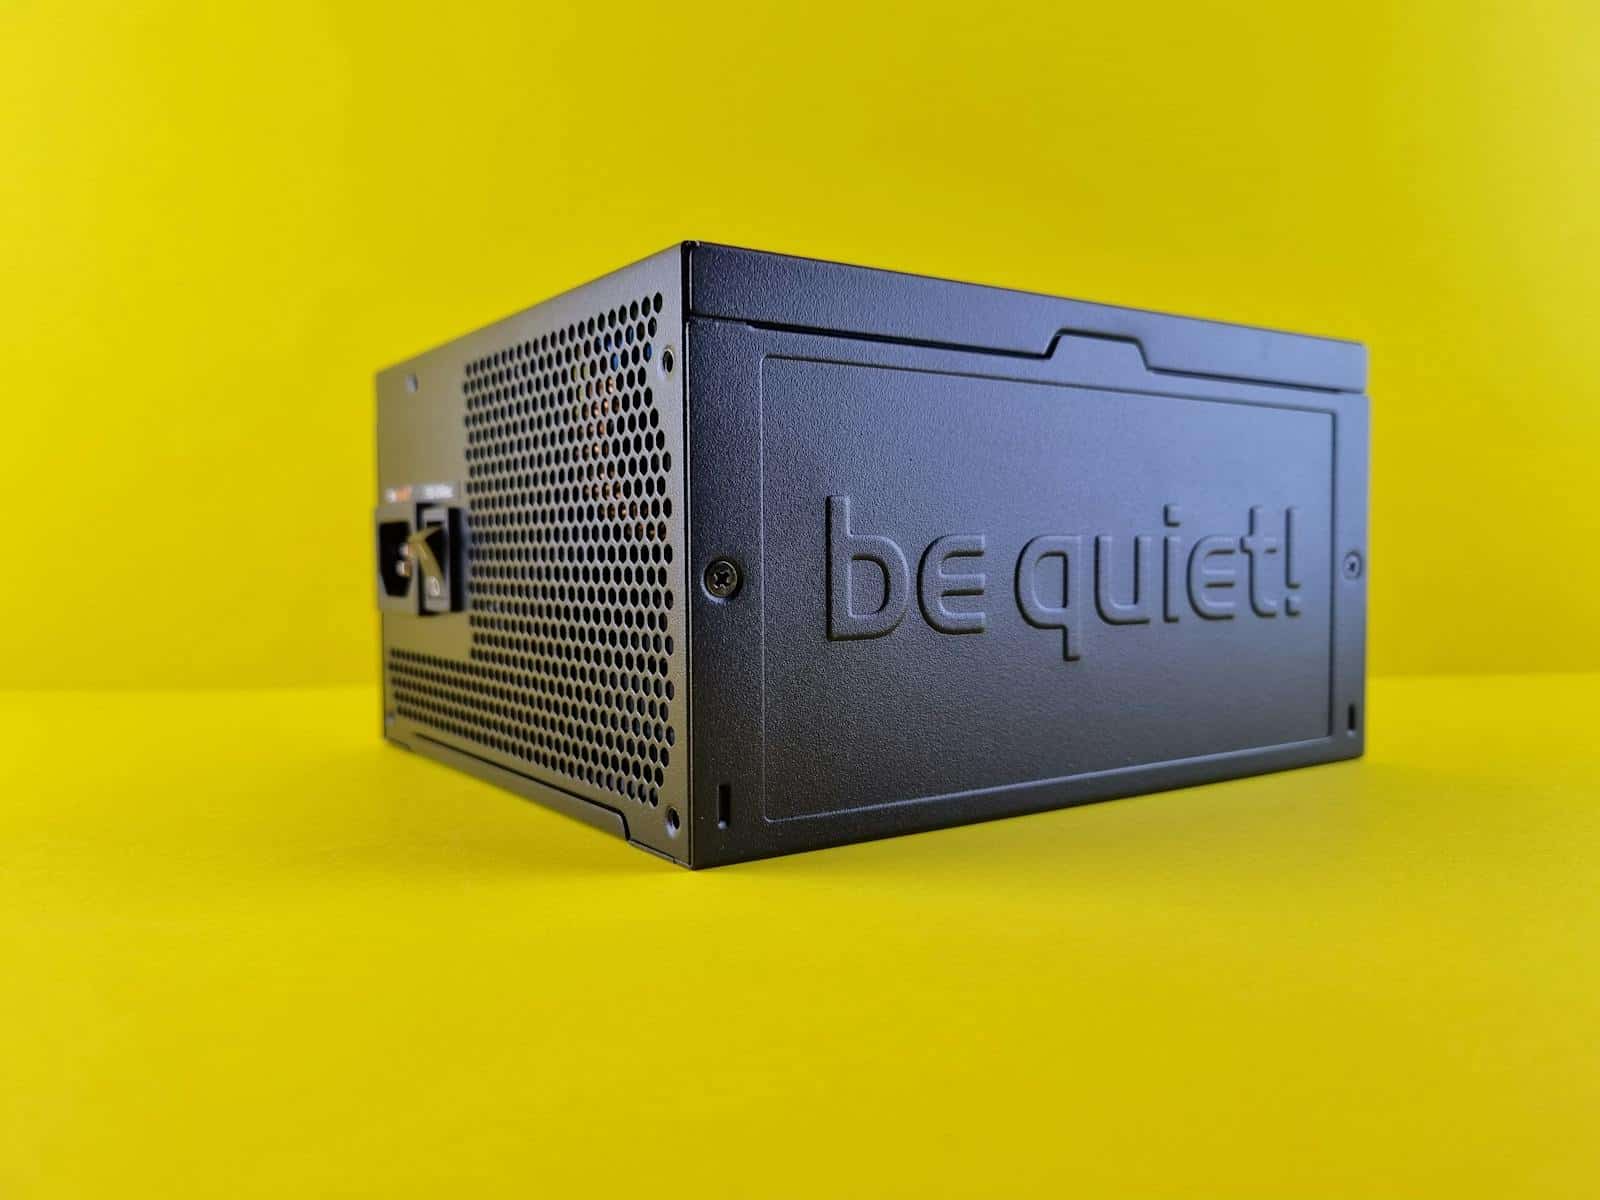
- Install the New PSU:
- Place the new PSU into the case, aligning the screw holes.
- Secure the PSU to the case with the screws you removed earlier.
- Connect Cables to Components:
- Referring to the pictures you took and your motherboard’s manual, reconnect all the cables to the appropriate components. Ensure they are firmly seated.
- Pay close attention to the orientation of the connectors. They are often keyed to prevent incorrect insertion.
- Cable Management (Optional but Recommended):
- Use zip ties or Velcro straps to bundle and organize the cables. This improves airflow inside the case and makes it easier to work on your PC in the future.
- Close the PC Case:
- Replace the side panel and secure it with the screws or thumbscrews.
- Reconnect Power and Test:
- Plug the power cord back into the wall outlet and the PC.
- Flip the power switch on the back of the PC (if applicable) to the “on” position.
- Press the power button on your PC to turn it on.
Troubleshooting:
- PC doesn’t turn on: Double-check all cable connections, especially the 20/24-pin ATX and 4/8-pin EPS/CPU power connectors.
- Burning smell or unusual noises: Immediately unplug the power cord and check for any loose connections or damaged components.
By following these steps carefully, you can successfully replace your PC’s power supply. If you encounter any difficulties or are unsure about any part of the process, it’s always best to consult a professional.
Replace The Power Supply in Your PC (Table)
| Step | Description | Notes |
|---|---|---|
| Preparation | 1. Gather Tools: Phillips head screwdriver, anti-static wrist strap, compressed air can (optional) | 2. Turn off and unplug your computer. |
| Removing the Old PSU | 1. Identify the PSU: It’s usually located in the back of the case, with cables connecting to various components. | 2. Disconnect cables: Carefully remove all cables connected to the PSU, noting their positions for reassembly. |
| Installing the New PSU | 1. Position the new PSU: Place the new PSU in the same position as the old one, aligning the screw holes. | 2. Secure the PSU: Screw the PSU back into the case using the provided screws. |
| Testing and Closing | 1. Close the case: Replace the side panel and secure it with the screws. | 2. Reconnect peripherals: Plug in your monitor, keyboard, mouse, and other devices. |
Additional Tips:
- Choose a new PSU with enough wattage to power your entire system.
- Consider modular or semi-modular PSUs for easier cable management.
- Double-check all cable connections before powering on your computer.
- If you’re uncomfortable performing this yourself, consider seeking professional help from a computer technician.
Understanding Power Supply and Its Importance
Why is Power Supply Crucial?
The power supply unit (PSU) is the lifeblood of your computer. It’s responsible for providing stable and reliable power to all the components. A weak or failing PSU can lead to various issues like random restarts, insufficient power to support graphics cards, or even hardware damage.
Step-by-Step Guide to Replacing Your PC’s Power Supply
Preparing for Replacement
Tools and Safety
You’ll need a few simple tools:
- Phillips head screwdriver
- A pair of gloves (optional for extra safety)
Initial Preparations
- Unplug all cables from your computer.
- If your PSU has a power switch at the back, flip it to the off position.
- Open the side panel of your case for access.
Disconnecting the Old Power Supply

Identifying and Unplugging Cables
- Carefully disconnect all cables from the PSU, ensuring you don’t snag any wires.
- Pay special attention to the big 24-pin power connector on the motherboard and the 4 or 8-pin CPU power connector.
- It’s helpful to take photos of the cable connections for reference when installing the new PSU.
Removing the Old PSU

- Unscrew the PSU (usually 4 screws) and set them aside.
- Gently remove the PSU from the case.
Installing the New Power Supply
Choosing the Right PSU
- Ensure the new PSU has the required wattage and features for your PC.
- It’s okay to opt for a PSU with higher wattage than currently needed, especially if you plan future upgrades.
Placing the New PSU

- Position the new PSU where the old one was.
- Secure it with screws.
Reconnecting Power
- If it’s a modular PSU, connect the necessary cables to the PSU first.
- Run the cables behind the motherboard and pull them through near the corresponding component.
- Connect the 24-pin, CPU power connectors, and any other necessary cables like those for SSDs, hard drives, and graphics cards.
- Ensure all plugs are securely seated.
Final Steps
- Reattach the side panel of your case.
- Plug in all external cables.
- Turn on the power switch (if applicable) and boot up your computer.
Essential Tips
- Grounding: Always ensure you are grounded when handling internal components to avoid static damage.
- Cable Management: Properly manage the cables for better airflow and aesthetics. Use the case’s cable management features if available.
- Testing: If possible, test the new PSU before fully installing it to ensure it’s functional.
Summary of Facts
- Replacing a PSU is crucial for maintaining computer efficiency.
- The necessary tools are minimal, usually just a screwdriver.
- Safety and proper disconnection of old PSU are vital.
- Ensure the new PSU meets or exceeds your system’s power requirements.
- Proper cable management and testing of the new PSU are recommended.
FAQ
How do I know if my power supply needs replacing?
If your PC is experiencing frequent restarts, power failures, or if you’ve upgraded components that require more power, it might be time to replace your PSU.
Can I install a power supply with higher wattage than needed?
Yes, installing a PSU with higher wattage than currently necessary is a good idea, especially if you plan to upgrade your PC components in the future.
Is replacing a power supply something I can do myself?
Absolutely! With some basic tools and careful following of instructions, most users can safely replace their computer’s power supply.


