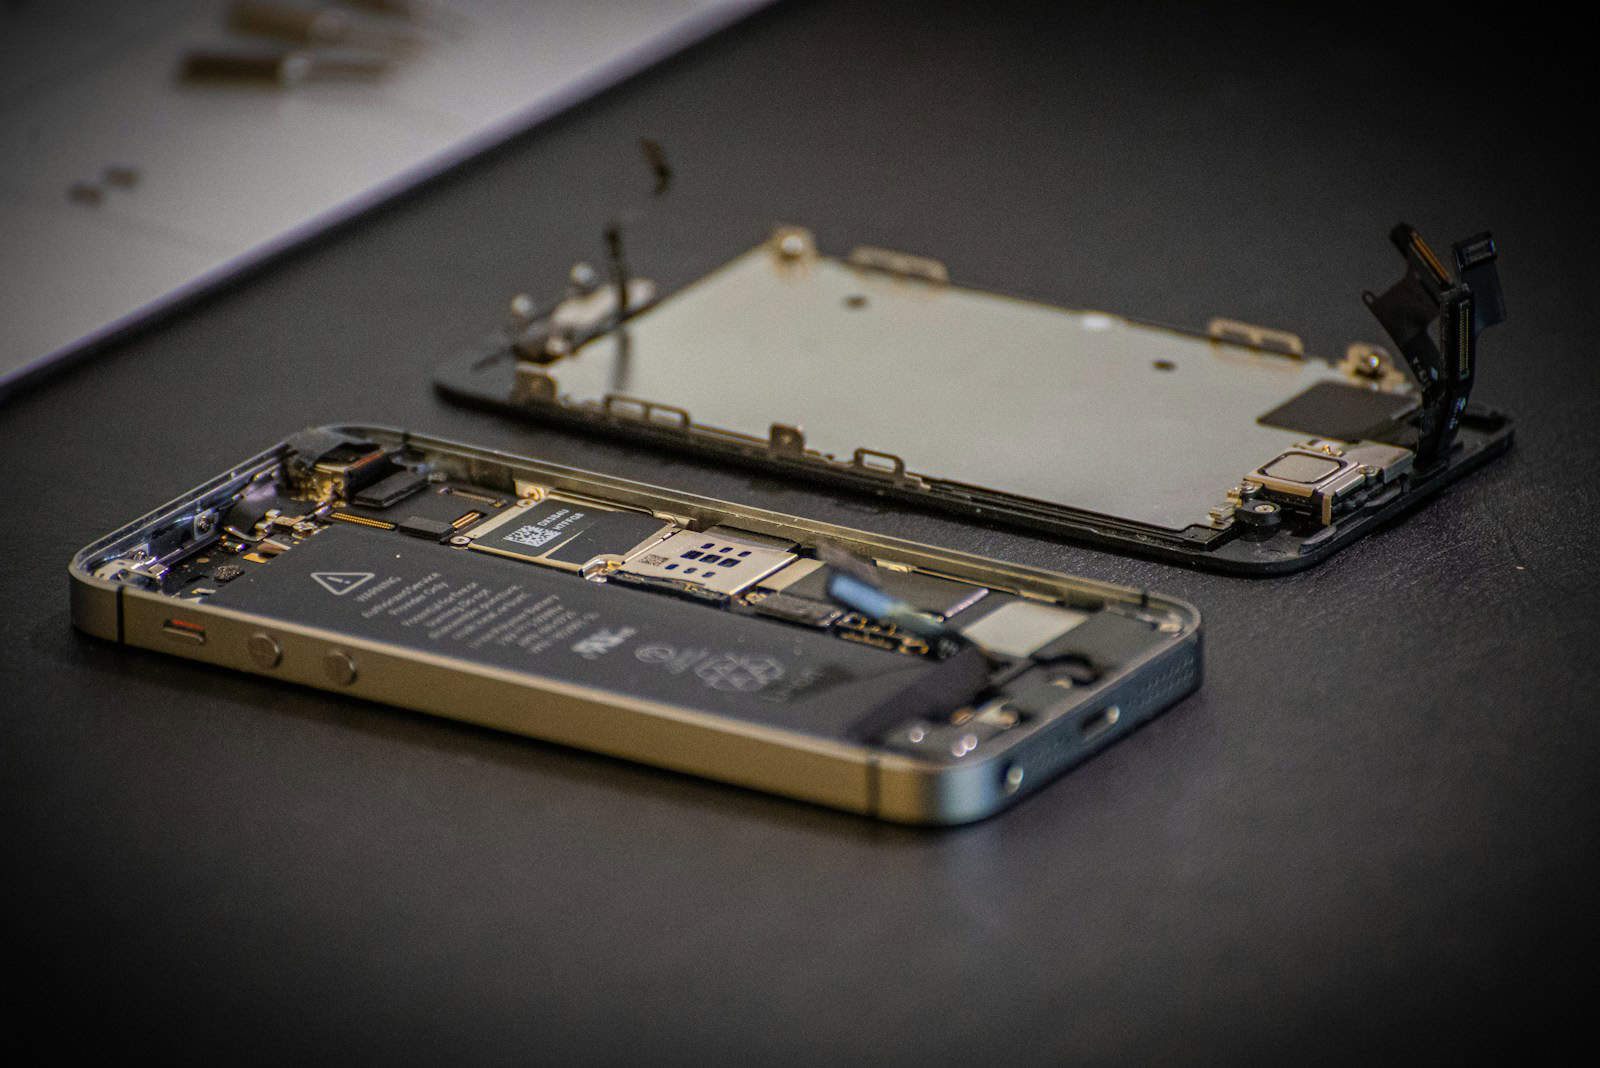
Fixing your iPhone screen yourself can save money but comes with risks. While it’s possible to replace an iPhone screen at home, it’s a complex process that requires careful handling of delicate components. DIY repair kits are available, but using them may void your warranty.
Apple now offers a self-repair program for certain iPhone models. This gives you access to genuine parts and tools. But the costs can be high. An iPhone 12 Pro display bundle runs $270 upfront.
Third-party repair shops offer a middle ground. They’re often cheaper than Apple while using quality parts. Before attempting a DIY fix, weigh your options carefully. Consider your skill level and the value of your device.
| Repair Option | Pros | Cons |
|---|---|---|
| DIY | Lowest cost | Risk of damage, voids warranty |
| Apple Self-Repair | Genuine parts | Expensive, complex process |
| Third-Party Shop | Lower cost than Apple | May use non-genuine parts |
DIY iPhone Screen Repair: Is It Worth the Risk?
A cracked iPhone screen is a common woe, and the high cost of professional repairs can be tempting to avoid. But can you fix an iPhone screen yourself? The answer is: it’s complicated.
The DIY Option: Pros and Cons
Pros:
- Cost Savings: DIY repairs are significantly cheaper than going to Apple or an authorized service provider. You’ll mainly pay for the replacement screen and a basic toolkit.
- Convenience: You can fix your phone on your own schedule without having to travel to a repair shop or wait for an appointment.
- Sense of Accomplishment: Successfully fixing your own phone can be quite satisfying.
Cons:
- Complexity: iPhone screens are delicate and complex. Disassembling and reassembling your phone requires precision and patience. One wrong move could cause further damage.
- Warranty Void: Opening your iPhone yourself will likely void your warranty. If something goes wrong during the repair or afterward, you won’t be able to get support from Apple.
- Part Quality: The quality of third-party replacement screens can vary. Some might not be as durable or responsive as the original Apple screen.
- Risk of Damage: There’s always a risk of further damaging your phone during a DIY repair. If you’re not careful, you could end up with a bigger problem than you started with.
What You’ll Need
If you decide to attempt a DIY repair, here’s what you’ll need:
- Replacement Screen: Purchase a high-quality replacement screen from a reputable supplier.
- Toolkit: A basic iPhone repair toolkit includes screwdrivers, suction cups, spudgers, and other tools for opening and disassembling your phone.
- Guides and Tutorials: Follow detailed guides and video tutorials to understand the repair process. iFixit is a great resource for this.
- Patience and Steady Hands: This is crucial for a successful repair.
Is It Worth It?
Whether a DIY iPhone screen repair is worth it depends on your:
- Technical Skills: Are you comfortable working with small parts and electronics?
- Risk Tolerance: Are you willing to risk further damaging your phone?
- Budget: How much are you willing to spend on the repair?
If you’re confident in your abilities and willing to accept the risks, a DIY repair can be a cost-effective option. However, if you’re unsure or have a valuable iPhone model, it’s often safer to go with a professional repair.
Alternatives to DIY
- AppleCare+: If you’re prone to accidents, consider AppleCare+ for reduced repair costs or even coverage for accidental damage.
- Authorized Service Providers: These offer reliable repairs with genuine parts, although they can be more expensive than independent shops.
- Independent Repair Shops: Many independent shops offer competitive prices and quick turnaround times. Do your research to find a reputable one.
The Right to Repair Movement
The increasing complexity and cost of device repairs have fueled the “Right to Repair” movement. This movement advocates for consumers’ right to repair their own devices or choose independent repair shops. As this movement gains momentum, we might see more accessible and affordable repair options in the future.
Ultimately, the decision of whether to fix your iPhone screen yourself is a personal one. Weigh the pros and cons carefully, assess your skills and risk tolerance, and consider the alternatives before making a decision.
Assessing iPhone Screen Damage
Evaluating iPhone screen damage is crucial before attempting any repairs. The process involves identifying your device model and determining if a DIY fix is feasible.
Identifying Your iPhone Model
To assess screen damage, you need to know your exact iPhone model. Look for the model number in Settings > General > About. You can also find it on the back of older iPhones or in the SIM tray slot of newer models.
Here’s a quick reference table for popular iPhone models:
| Model | Release Year | Screen Size |
|---|---|---|
| iPhone SE (2nd gen) | 2020 | 4.7″ |
| iPhone 11 | 2019 | 6.1″ |
| iPhone 12 | 2020 | 6.1″ |
| iPhone X | 2017 | 5.8″ |
For iPhones 6 and newer, you can check the model by dialing *#06# to display the IMEI number. This unique identifier can be used to look up your specific model online.
Determining Repair Feasibility
After identifying your iPhone model, assess the extent of the damage. Cracks, chips, or dead pixels are usually repairable at home. However, extensive damage may require professional service.
Check if your iPhone is still under warranty. Apple’s standard warranty covers manufacturing defects but not accidental damage. If you have AppleCare+, screen repairs might be cheaper through Apple.
For DIY repairs, consider the cost of parts and tools. Screen replacement kits for newer models can be pricey, often costing over $200. Weigh this against professional repair costs.
Assess your technical skills honestly. iPhone screen replacement requires precision and patience. If you’re not confident, it’s better to seek professional help to avoid further damage.
Required Tools and Parts
Fixing an iPhone screen yourself requires specific tools and high-quality replacement parts. Proper preparation ensures a smoother repair process and better results.
Gathering Necessary Tools
To fix an iPhone screen, you’ll need several specialized tools. A suction cup helps lift the screen safely. A heat gun or hairdryer softens the adhesive. Small screwdrivers, including pentalobe and Phillips head, are essential for removing internal components.
Plastic opening tools and spudgers help separate parts without causing damage. Tweezers assist with handling small screws and cables. An anti-static wrist strap protects sensitive electronics from static discharge.
Consider purchasing a complete iPhone screen repair kit. These kits often include all necessary tools and can be more cost-effective than buying items separately.
Purchasing Quality iPhone Screen Replacements
Selecting the right display assembly is crucial for a successful repair. Choose a screen compatible with your specific iPhone model and color. Options include:
| Screen Type | Pros | Cons |
|---|---|---|
| OEM (Original) | Highest quality, perfect fit | Most expensive |
| Aftermarket | More affordable | May have slight differences |
| Refurbished | Good quality, lower cost | Limited availability |
Look for screens with a warranty and good customer reviews. Avoid extremely cheap options as they may have poor quality or compatibility issues. Some replacement screens come with pre-installed components like the front camera and sensors, simplifying the repair process.
Remember to check if the screen includes necessary adhesive strips for reinstallation. If not, purchase these separately to ensure a proper seal after the repair.
The Repair Process
Fixing an iPhone screen involves several intricate steps. Careful handling and precision are crucial throughout the process to avoid damaging other components.
Opening the iPhone
Start by powering off your iPhone and removing the two pentalobe screws at the bottom. Use a suction cup to lift the screen slightly. Insert a thin pry tool to separate the display assembly from the body. Be gentle to avoid damaging the flex cables connecting the screen to the logic board.
Disconnect the battery connector first to prevent short circuits. Then unplug the display data cable, front camera and sensor cable, and home button cable if present. Take care not to tear these delicate ribbons.
Removing the Damaged Screen
With the cables detached, lift out the entire display assembly. Separate the front panel from the display assembly using a heat gun to soften the adhesive. Carefully pry them apart with plastic tools.
Remove the home button and other small components like the earpiece speaker and front camera. Transfer these to your new screen. Clean off any remaining adhesive residue from the frame.
Installing the New Screen
Attach the transferred components to your replacement screen. Reconnect all cables in reverse order. Align the new display and press firmly around the edges to seal it.
Perform a quick test before fully closing the phone. Power on and check touch response, home button, and front camera function. If all works, secure the pentalobe screws.
| Component | Transfer to New Screen? |
|---|---|
| Home button | Yes |
| Front camera | Yes |
| Earpiece speaker | Yes |
| Proximity sensor | Yes |
Using genuine Apple parts is recommended for optimal performance. Third-party screens may lack features like True Tone.
After the Repair
Once you’ve completed the screen replacement, it’s crucial to ensure everything functions correctly. You’ll need to test the new screen thoroughly and seek help if issues arise.
Testing the New Screen
Begin by powering on your iPhone. Check that the display turns on and responds to touch inputs. Swipe through home screens and open various apps to verify responsiveness. Test the brightness settings and color accuracy.
Examine the edges of the screen for any gaps or misalignment. Ensure the proximity sensor and front camera work properly. Make a test call to check if the screen turns off when held to your ear.
Try Face ID if your iPhone model supports it. Verify that all buttons function correctly, including volume and power.
| Test Item | What to Check |
|---|---|
| Display | Brightness, color, touch response |
| Sensors | Proximity sensor, Face ID |
| Buttons | Volume, power, home (if applicable) |
| Camera | Front-facing camera functionality |
Seeking Professional Support if Needed
If you encounter issues after the repair, don’t hesitate to seek help. Apple Stores and Authorized Service Providers can diagnose and fix problems that may have occurred during your DIY repair.
Bring your iPhone to a professional if you notice:
- Dead spots on the screen
- Lines or discoloration
- Unresponsive areas
- Loose or lifting screen edges
These symptoms might indicate an improper installation or faulty part. A technician can properly reseat the screen or replace it if necessary.
Remember, if your iPhone is still under warranty, a DIY repair likely voided it. In this case, you may need to pay for out-of-warranty service at an Apple Store or authorized repair center.
Frequently Asked Questions
DIY iPhone screen repair involves specific steps, tools, and considerations. Many users wonder about the feasibility, costs, and potential risks of fixing their device at home.
What steps are involved in replacing an iPhone screen by oneself?
Replacing an iPhone screen yourself requires careful preparation. First, gather the necessary tools and replacement parts. Power off the device and remove the display screws. Disconnect the battery and other internal cables. Carefully separate the old screen from the frame. Install the new screen and reconnect all components. Finally, test the new display to ensure proper function.
Is it possible to repair just the glass on an iPhone without professional assistance?
Repairing only the glass on an iPhone is challenging without professional tools. The glass is fused to the LCD and digitizer. Separating these components risks damaging the display. Most DIY repairs involve replacing the entire screen assembly rather than just the glass.
How does the cost of DIY iPhone screen repair compare to professional services?
DIY iPhone screen repair can be cheaper than professional services. Screen repair kits for older models cost around $100. Newer models like iPhone 12 and up may cost $250 or more. Apple’s out-of-warranty repair prices are often higher. However, DIY repairs may void your warranty.
Are there specific tools required for DIY iPhone screen replacement?
Yes, specific tools are needed for iPhone screen replacement. These include:
- Suction cups
- Pry tools
- Screwdriver set
- Spudger
- Tweezers
- Heat gun (for some models)
iFixit repair guides offer detailed tool lists for each iPhone model.
What are the risks of repairing an iPhone screen at home?
DIY iPhone screen repair carries several risks:
- Damaging internal components
- Breaking the new screen during installation
- Voiding the warranty
- Compromising water resistance
- Incorrect reassembly leading to malfunctions
Inexperienced users may find professional repair safer and more reliable.
How can one troubleshoot common iPhone screen issues without a full replacement?
Some screen issues can be resolved without replacement:
- Restart the iPhone to fix software glitches
- Update iOS to address compatibility problems
- Check display settings for brightness and color issues
- Clean the screen and ports to improve touch responsiveness
- Perform a factory reset as a last resort before considering hardware repair
These steps can often resolve minor display problems without opening the device.


