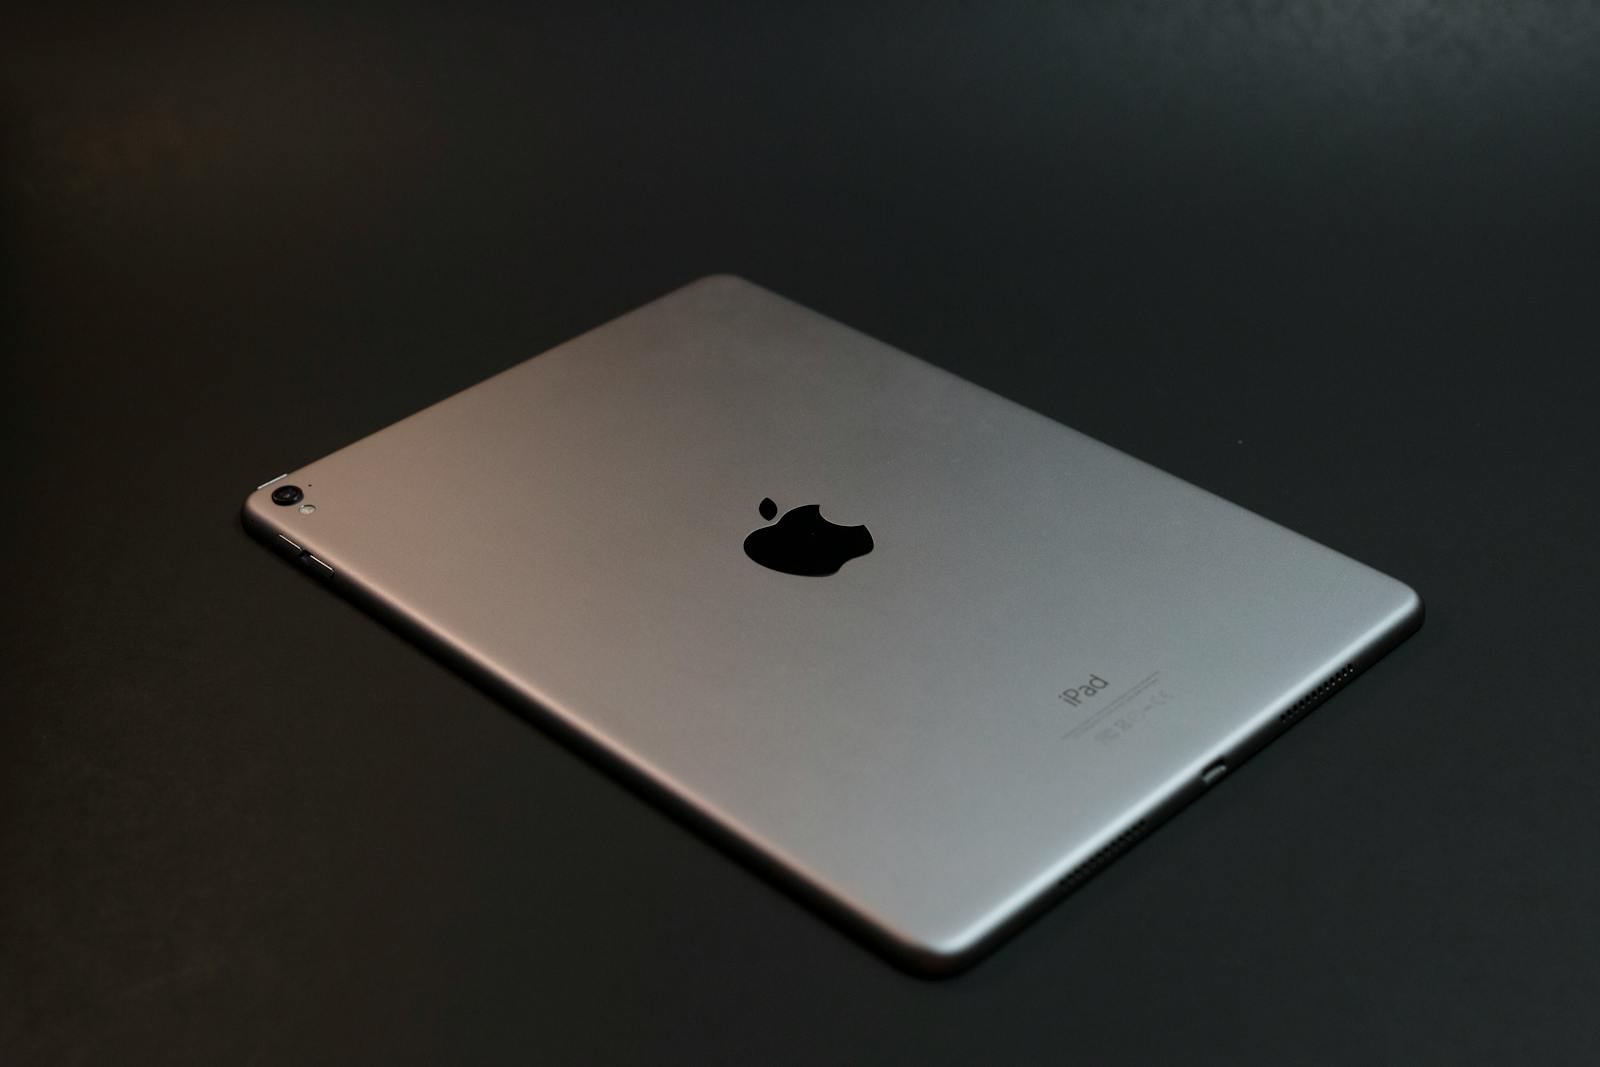
Connecting an iPad to Ethernet can provide a stable and fast internet connection. This is especially useful when Wi-Fi is unavailable or unreliable. To connect an iPad to Ethernet, you need a compatible adapter and an Ethernet cable.
The process is straightforward. For iPads with Lightning ports, use a Lightning to USB adapter along with a USB to Ethernet adapter. iPads with USB-C ports can use a USB-C to Ethernet adapter directly. Once the adapters are connected, plug the Ethernet cable into the adapter and the other end into your router or network port.
After the physical connection is made, the iPad should recognize the Ethernet connection automatically. Users can verify the connection by checking the Settings app under the Ethernet section. This wired connection can offer faster speeds and lower latency compared to Wi-Fi in many situations.

Connecting Your iPad to Ethernet: A Wired Guide
While iPads are designed for wireless connectivity, there are times when a wired Ethernet connection offers advantages like greater stability and speed. Here’s how to connect your iPad to Ethernet:
What You’ll Need
- iPad: Any iPad model with a Lightning or USB-C port.
- Ethernet Adapter:
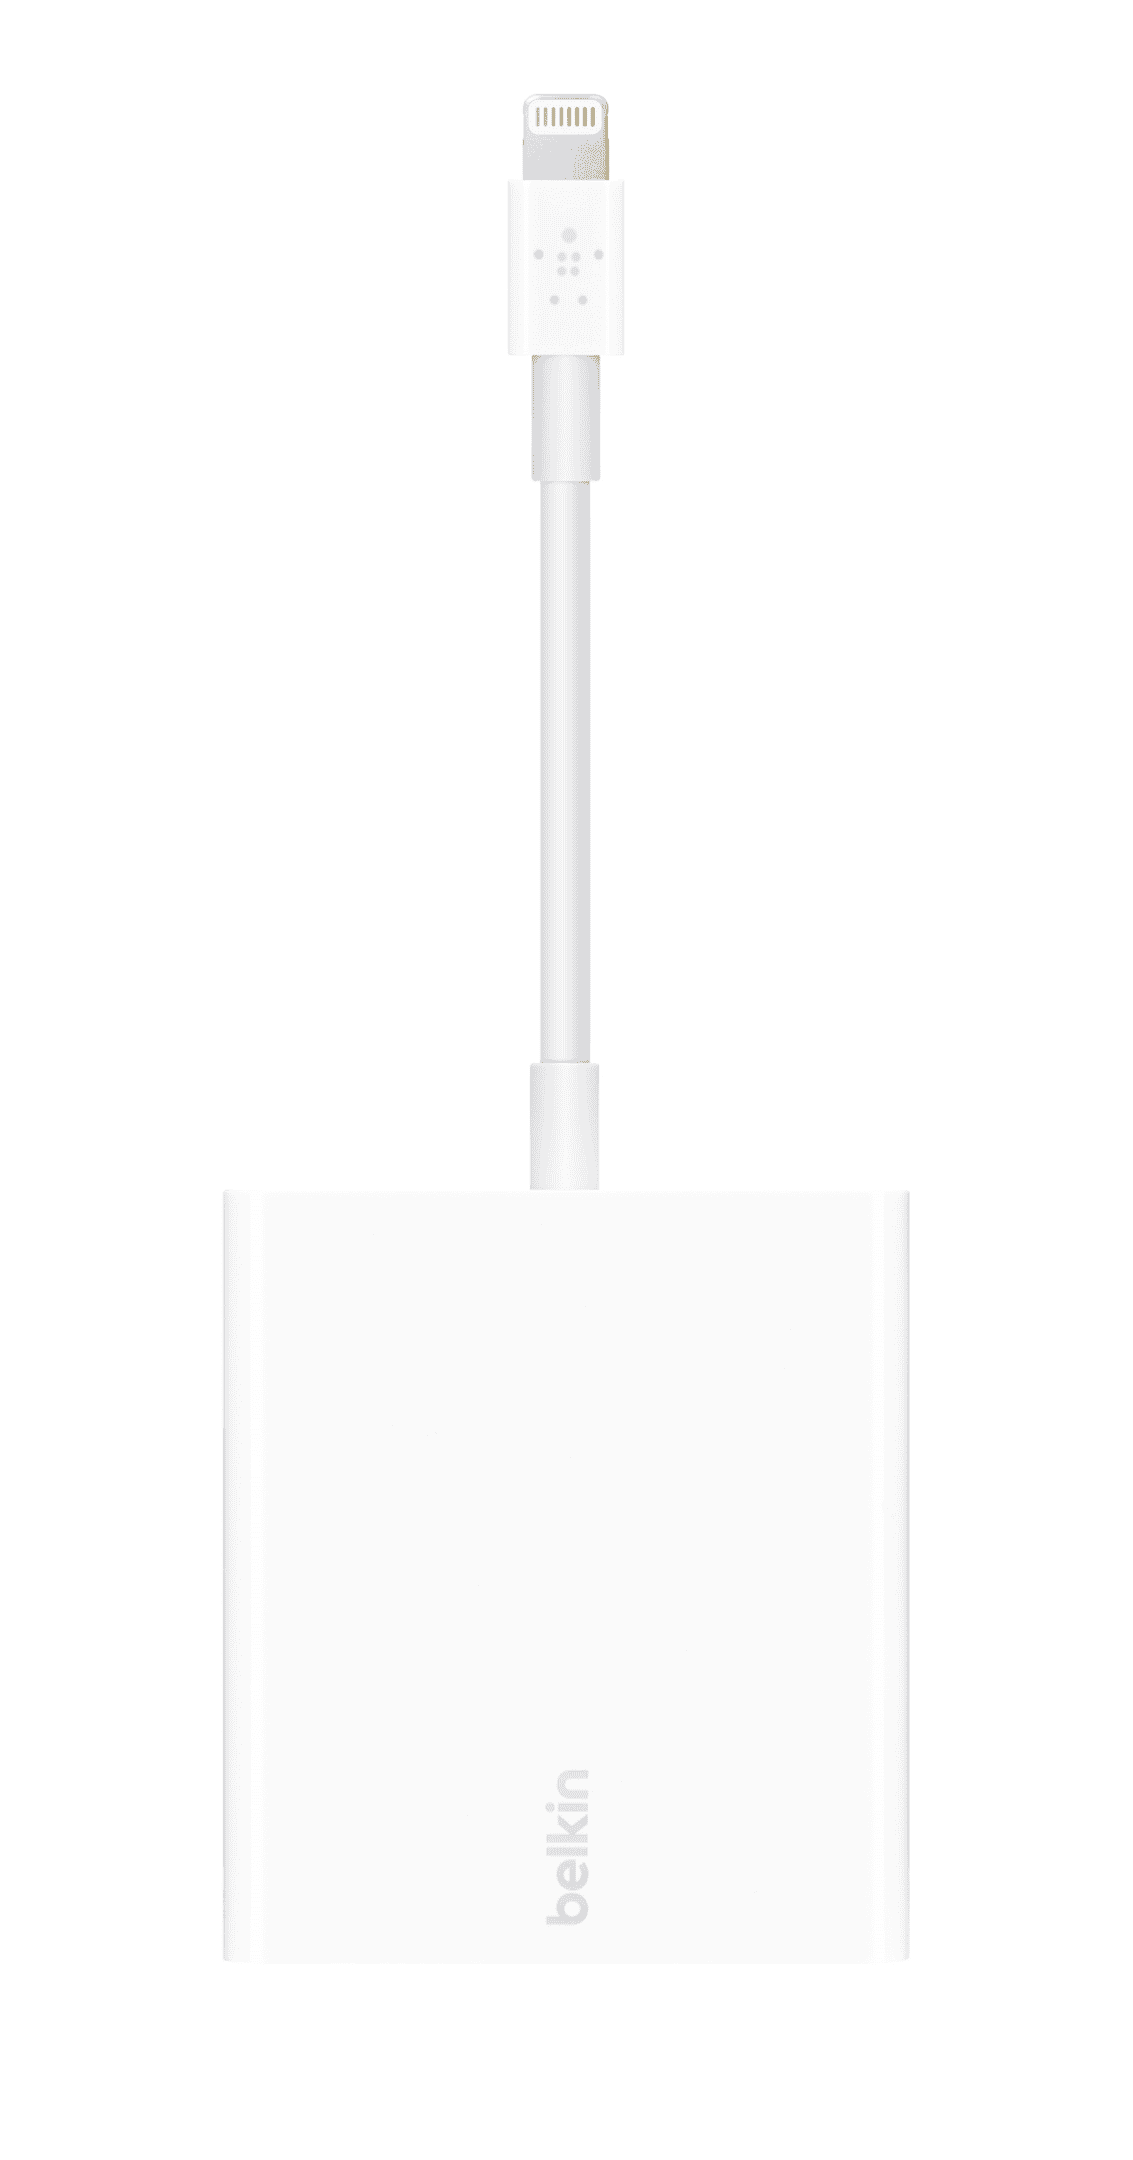
- For iPads with a Lightning port, you’ll need a Lightning to USB adapter and a USB Ethernet adapter.
- For iPads with a USB-C port, you’ll need a USB-C Ethernet adapter.
- Ethernet Cable: A standard Ethernet cable to connect the adapter to your router or network switch.
Connection Steps
- Connect the Adapters:
- If using a Lightning to USB adapter, connect it to your iPad’s Lightning port.
- Connect the USB Ethernet adapter to the USB adapter or (if using a USB-C iPad) directly to the USB-C port.
- Connect the Ethernet Cable: Plug one end of the Ethernet cable into the Ethernet adapter and the other end into your router or network switch.
- Check the Connection: Go to Settings > Wi-Fi on your iPad. You should see a green dot next to “Ethernet” and your network’s name, indicating a successful connection.
Troubleshooting
- No Connection:
- Ensure the Ethernet cable is securely plugged into both the adapter and your network device.
- Try a different Ethernet cable.
- Restart your iPad and network devices.
- Check for any physical damage to the adapters or cables.
- Slow Speeds:
- Make sure your Ethernet cable supports the desired speeds.
- Check your network’s overall performance.
Benefits of a Wired Connection
- Faster Speeds: Ethernet generally provides faster and more consistent speeds than Wi-Fi, especially for demanding tasks like large file transfers or online gaming.
- Reduced Latency: A wired connection offers lower latency, which is crucial for real-time applications like video calls and online gaming.
- Improved Stability: Ethernet connections are less prone to interference and signal drops compared to Wi-Fi.
- Security: Wired connections can offer better security than Wi-Fi, especially in public or shared network environments.
Boosting Your iPad’s Productivity
Beyond using a wired Ethernet connection, here are some other ways to enhance your iPad productivity:
- External Keyboard: A physical keyboard can significantly improve typing speed and accuracy.
- Apple Pencil: The Apple Pencil is great for note-taking, drawing, and precise tasks.
- External Storage: Expand your iPad’s storage capacity with external drives or cloud services.
- Multitasking: Learn to use iPadOS multitasking features like Split View and Slide Over to work with multiple apps simultaneously.
- Productivity Apps: Explore productivity apps for tasks like writing, note-taking, project management, and more.
Key Takeaways
- Connecting an iPad to Ethernet requires a compatible adapter and cable
- The Settings app displays Ethernet connection status
- Wired connections can provide faster and more stable internet access
Understanding Ethernet Connections for iPad
Ethernet connections offer iPads a reliable and fast alternative to Wi-Fi. These wired connections provide stable internet access for various iPad models through specific adapters and configurations.
Ethernet vs. Wi-Fi Connections
Ethernet connections use physical cables to link devices to networks. This method offers several advantages over Wi-Fi:
- Faster speeds
- Lower latency
- More stable connection
- Enhanced security
Wi-Fi, while convenient, can suffer from interference and slower speeds in crowded areas. Ethernet eliminates these issues, making it ideal for tasks requiring consistent connectivity.
For iPads in business settings or areas with poor Wi-Fi, Ethernet can be a game-changer. It ensures uninterrupted video calls, large file transfers, and smooth streaming.
Compatibility of iPads with Ethernet
Not all iPads support Ethernet connections out of the box. Compatibility depends on the iPad model and iOS version:
- iPad Pro (2018 and later): USB-C port, compatible with USB-C to Ethernet adapters
- Other iPad models: Lightning port, require a Lightning to USB adapter plus USB to Ethernet adapter
iOS 10.2 and later versions support Ethernet connections. Users need to ensure their iPad’s software is up to date for proper functionality.
To set up an Ethernet connection:
- Connect the appropriate adapter to the iPad
- Plug the Ethernet cable into the adapter
- Check Settings > Ethernet to confirm the connection
Some routers may require additional configuration to recognize the iPad on the network.
Setting up Your iPad for Ethernet
Connecting an iPad to Ethernet requires specific hardware and configuration steps. This process enhances internet connectivity and provides a stable wired connection for iPads.
Choosing the Right Adapter
Selecting the correct adapter is crucial for Ethernet connectivity. For iPads with Lightning ports, use a Lightning to USB 3 Camera Adapter or a dedicated Lightning to Ethernet adapter. USB-C iPads need a USB-C to Ethernet adapter or a USB-C hub with an Ethernet port.
Apple-certified adapters ensure compatibility and optimal performance. Third-party options from reputable brands like Belkin also work well. Consider adapters that offer additional ports for charging or connecting other accessories.
Connecting the Hardware
Start by plugging the Ethernet cable into your router or network switch. Connect the other end to your chosen adapter. For Lightning iPads, plug the adapter into the iPad’s Lightning port. USB-C iPad users should insert the adapter or hub into the USB-C port.
Ensure all connections are secure. Some adapters may require external power, so connect them to a power source if needed. Once connected, the iPad should recognize the Ethernet connection automatically.
Configuring iPad’s Network Settings
Open the Settings app on your iPad. Look for “Ethernet” under the Wi-Fi section. If not visible, the connection might not be detected. Try unplugging and reconnecting the adapter.
Tap on the Ethernet option to view connection details. Most networks use DHCP, which automatically assigns an IP address. For manual configuration, tap “Configure IP” and enter the required information.
To prioritize Ethernet over Wi-Fi, turn off Wi-Fi in Settings. This ensures the iPad uses the wired connection. Check your connection by opening a web browser or using an internet speed test app.
Frequently Asked Questions
Connecting an iPad to Ethernet offers a reliable wired internet option. Users often have questions about adapter compatibility, troubleshooting, and finding settings.
What steps are needed to connect an iPad to the internet using an Ethernet cable?
- Get a compatible Ethernet adapter for your iPad model.
- Connect the adapter to your iPad’s USB-C or Lightning port.
- Plug an Ethernet cable into the adapter.
- The iPad should automatically detect the connection.
- If needed, go to Settings > Ethernet to confirm or adjust the connection.
What options are available for Ethernet adapters compatible with iPad models?
Apple offers official Lightning to Ethernet and USB-C to Ethernet adapters. Third-party options include:
- Belkin USB-C to Gigabit Ethernet Adapter
- Anker USB-C to Ethernet Adapter
- UGREEN USB-C to Ethernet Adapter
These adapters work with various iPad models, including iPad Pro, iPad Air, and standard iPad.
Why might an Ethernet connection fail to work on an iPad and how can this be remedied?
Common issues include:
- Incompatible adapter: Ensure the adapter is iPad-compatible.
- Outdated iOS: Update to the latest version.
- Faulty cable: Try a different Ethernet cable.
- Network problems: Check if other devices can connect.
To fix, restart the iPad, reset network settings, or contact Apple Support for persistent issues.
How can one find the Ethernet settings on an iPad to troubleshoot connectivity issues?
- Open the Settings app on the iPad.
- Scroll down and tap on “Ethernet” (visible when an adapter is connected).
- Here, users can view connection status and configure IP settings if needed.
- For manual setup, tap “Configure IP” and choose Manual to enter specific network details.
Is it possible to use a USB-C Ethernet adapter with an iPad Pro for internet access?
Yes, iPad Pro models with USB-C ports support USB-C Ethernet adapters. Steps:
- Connect a USB-C Ethernet adapter to the iPad Pro.
- Plug an Ethernet cable into the adapter.
- The iPad Pro will automatically recognize the connection.
- Check Settings > Ethernet to confirm the connection is active.
What are the methods to access the internet on an iPad if Wi-Fi is not available?
- Cellular data: Use a cellular-enabled iPad or personal hotspot.
- Ethernet connection: Connect via an Ethernet adapter.
- Tethering: Share internet from a smartphone.
- Public Wi-Fi hotspots: Connect at cafes, libraries, or other public spaces.
- Satellite internet: Use specialized equipment in remote areas.
