Replacing an iPhone screen can be tricky. You might worry about what to do next. After replacing your iPhone screen, you should test all functions and make sure it turns on properly. This step ensures your device works as it should.
Sometimes, issues arise after a screen replacement. Your iPhone might not turn on right away. Don’t panic. There are simple fixes you can try. These include checking connections and performing a force restart.
Proper care after repair is key. You’ll want to protect your new screen. Consider a screen protector and a case. These items guard against future damage. They help you avoid another cracked screen and costly repairs.
| Step | Action | Purpose |
|---|---|---|
| 1 | Test functions | Ensure proper operation |
| 2 | Force restart if needed | Resolve startup issues |
| 3 | Apply screen protector | Prevent future damage |
Screen Replaced? What to Do Next
Congratulations on getting your iPhone screen replaced! Whether you did it yourself or had it professionally repaired, there are a few important steps to take after the replacement to ensure everything is working correctly and your data is protected.
1. Inspect the Repair
- Visual Check: Carefully examine the new screen for any defects, such as dead pixels, discoloration, or uneven backlighting.
- Touch Sensitivity: Test the touchscreen responsiveness across the entire surface. Make sure it registers touches accurately and smoothly.
- Functionality: Test other features that might be affected by the screen replacement, such as the front-facing camera, earpiece speaker, and proximity sensor.
2. Restore Your Data
If you had to erase your iPhone before the repair, now’s the time to restore your data.
- iCloud Backup: If you have a recent iCloud backup, follow the onscreen prompts during the setup process to restore your iPhone from the backup.
- Computer Backup: If you backed up your iPhone to a computer, connect your iPhone and use iTunes (on older macOS or Windows) or Finder (on macOS Catalina or later) to restore from the backup.
3. Check Battery Health
Sometimes, screen replacements can affect battery performance.
- Go to Settings > Battery > Battery Health.
- Check the “Maximum Capacity” reading. If it’s significantly below 80%, you might want to consider replacing the battery as well.
4. Update iOS
Ensure your iPhone is running the latest version of iOS. Updates often include bug fixes and performance improvements that can benefit your newly replaced screen.
- Go to Settings > General > Software Update.
5. Protective Measures
To safeguard your new screen:
- Screen Protector: Apply a tempered glass screen protector to prevent scratches and cracks.
- Protective Case: Use a durable case to protect your iPhone from drops and impacts.
| Step | Description |
|---|---|
| Inspect the repair | Check screen quality and functionality |
| Restore your data | Restore from iCloud or computer backup |
| Check battery health | Monitor battery performance |
| Update iOS | Install the latest software updates |
| Protective measures | Apply screen protector and use a case |
Troubleshooting
If you encounter any issues after the screen replacement, such as unresponsive touch or display problems, try these steps:
- Restart your iPhone.
- Check connections: If you did the repair yourself, ensure all cables are properly connected.
- Contact the repair provider: If you had it professionally repaired, contact the repair provider for assistance.
DIY vs. Professional Repair
While DIY screen replacements can be cost-effective, they require technical skills and carry the risk of further damage. If you’re not confident in your abilities, it’s generally recommended to seek professional repair from a reputable service provider.
Preparing for Screen Replacement
Proper preparation is key to a successful iPhone screen replacement. The right tools and safety measures will help you avoid damage and complete the repair safely.
Gathering Necessary Tools
To replace your iPhone screen, you’ll need several specialized tools. A suction cup helps lift the screen without damaging it. An opening pick aids in separating the screen from the frame. A heat gun or hair dryer softens the adhesive for easier removal.
Other essential items include:
- Screwdriver set (various sizes)
- Plastic pry tools
- Tweezers
- Magnetic mat for organizing screws
- Replacement screen
Consider buying a repair kit that includes these tools. It’s often more cost-effective than purchasing items separately.
Protective Measures for Safety
Safety should be your top priority during screen replacement. Wear safety glasses to protect your eyes from small parts or glass shards. Use packing tape to cover the cracked screen. This prevents glass from falling out during removal.
Work in a well-lit, clean area with a soft surface. This protects your iPhone from scratches. Avoid static electricity by using an anti-static wrist strap or mat.
| Safety Item | Purpose |
|---|---|
| Safety glasses | Eye protection |
| Packing tape | Contain broken glass |
| Anti-static equipment | Prevent electrical damage |
Disconnect the battery before starting. This prevents short circuits and protects internal components.
Executing the Screen Replacement Process
Replacing an iPhone screen requires careful attention to detail and proper handling of delicate components. The process involves removing the old screen, disconnecting internal parts, and installing the new display.
Removing the Broken Screen
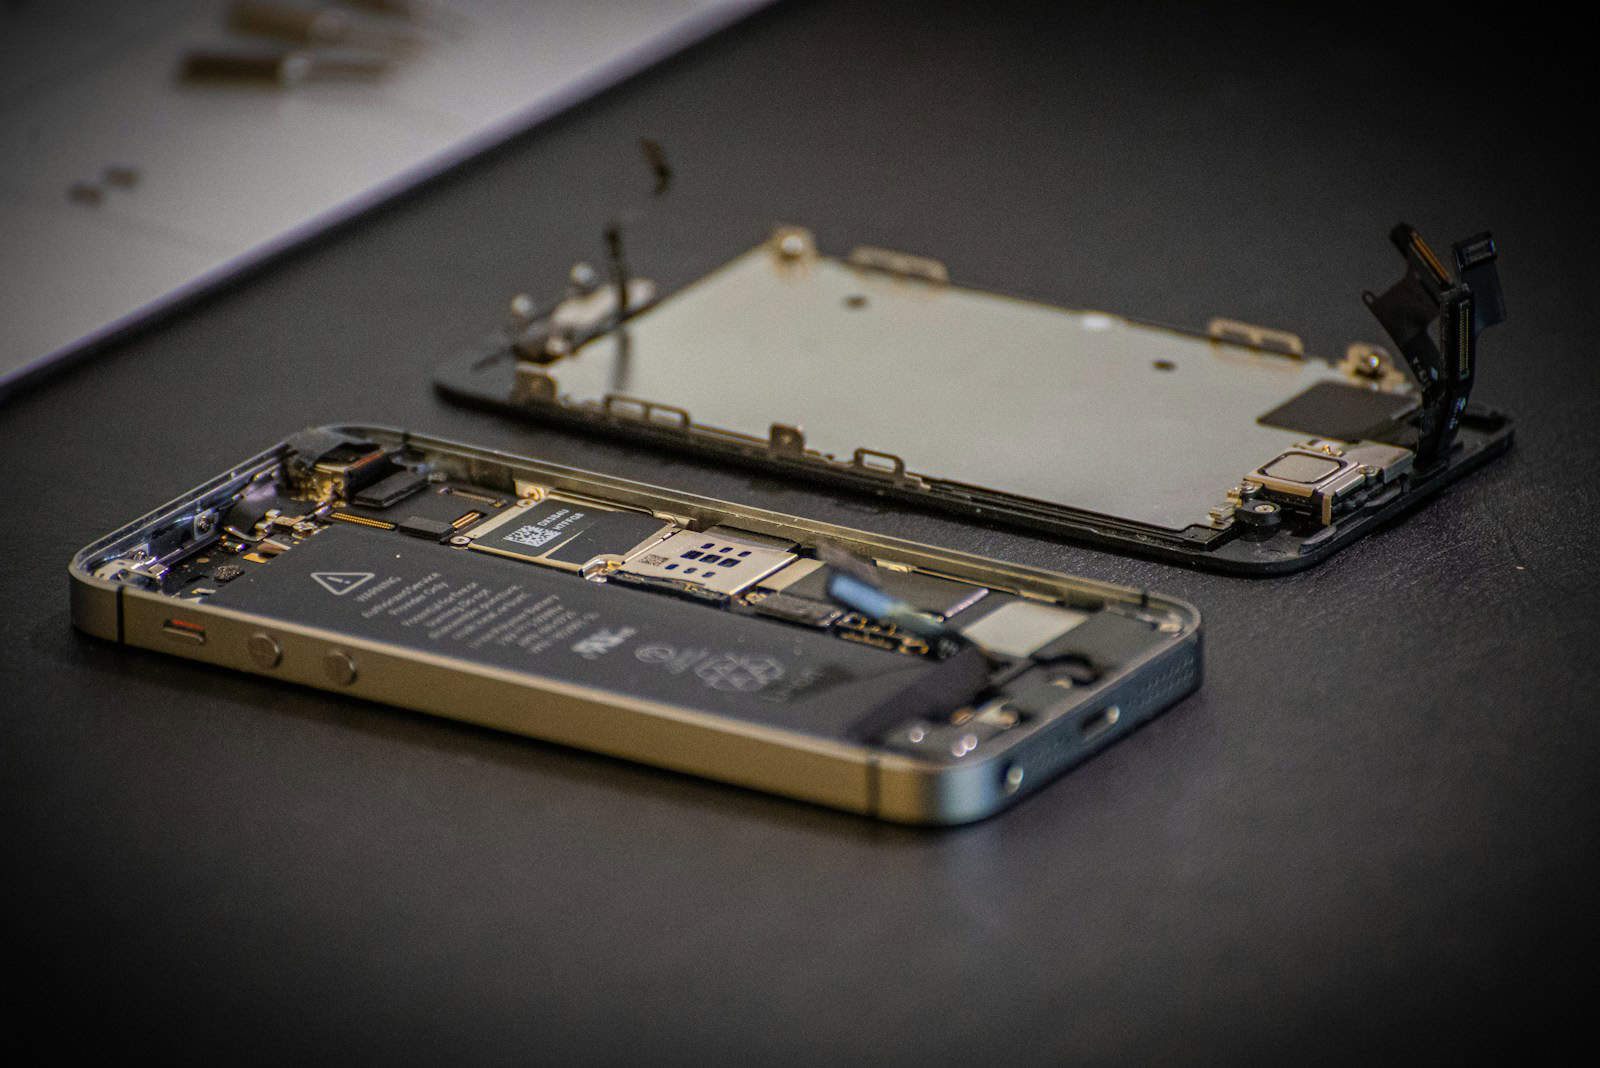
Start by powering off your iPhone and removing the two pentalobe screws at the bottom. Use a suction cup to lift the screen slightly, then slide a thin pry tool along the edges to separate the display from the frame. Be gentle to avoid damaging the flex cables connecting the screen to the logic board.
Once you’ve created a small gap, use an opening pick to slice through the adhesive holding the screen in place. Work slowly around all sides of the phone. When the adhesive is fully separated, open the display like a book cover, being careful not to tear the ribbon cables.
Disconnecting the Battery and Relevant Components
Before handling any internal components, disconnect the battery to prevent electrical damage. Use a spudger or plastic pry tool to gently unplug the battery connector from the logic board.
Next, unplug the display flex cables. These typically include:
- Display data cable
- Digitizer cable
- Front camera and sensor assembly cable
Use tweezers to flip up the small locking flaps on each connector before carefully unplugging the cables. Take note of their positions for reconnection later.
Installing the New Screen
Before attaching the new screen, transfer any necessary components from the old display. This may include the earpiece speaker, front camera, and Face ID sensor assembly. These parts are crucial for maintaining full functionality.
Carefully connect the flex cables of the new display to the logic board. Ensure each cable is fully inserted and the locking flaps are closed. Reconnect the battery.
Test the new screen before sealing the phone. If everything works, apply new adhesive strips or liquid adhesive around the frame. Press the new screen firmly into place, ensuring a proper seal to maintain water resistance. Replace the pentalobe screws at the bottom.
| Component | Action |
|---|---|
| Broken screen | Remove carefully |
| Battery | Disconnect first |
| Flex cables | Unplug and replug gently |
| New screen | Transfer components, test before sealing |
Reassembling and Restoring Functionality
After replacing your iPhone screen, proper reassembly and function testing are crucial. These steps ensure your device works correctly and maintains its water resistance.
Reconnecting Components and Seals
Start by carefully reconnecting all components you disconnected during the repair. Reattach the display cable to the logic board. Ensure it’s firmly seated. Reconnect the front-facing camera and earpiece speaker assemblies.
Check all screws are in place and tightened. Don’t overtighten as this may damage components.
Apply new adhesive strips around the screen’s edges. This restores the water-resistant seal. Press the new screen firmly into place. Hold for about a minute to ensure proper adhesion.
For iPhones with Face ID, reconnect the TrueDepth camera system carefully. Proper alignment is critical for Face ID functionality.
Testing the New Display and Functions
Power on your iPhone to test the new screen. Check touch responsiveness across the entire display. Verify the brightness control works correctly.
Test the front-facing camera and Face ID if applicable. Ensure the earpiece speaker functions properly for calls.
For devices running iOS 17.6 or earlier, True Tone functionality may be disabled after screen replacement. On iOS 18 and newer, use Apple’s Repair Assistant to calibrate the new screen and restore True Tone.
Check all buttons work correctly. Test the proximity sensor during a call. Verify the ambient light sensor adjusts screen brightness appropriately.
| Function to Test | Expected Outcome |
|---|---|
| Touch responsiveness | Accurate across screen |
| Face ID | Works if applicable |
| True Tone | May need recalibration |
| Earpiece speaker | Clear audio in calls |
| Front camera | Clear image capture |
If issues persist, double-check all connections and consider consulting a professional repair service.
Post-Replacement Considerations
After replacing your iPhone screen, you need to take care of your device and ensure its longevity. Proper maintenance and understanding your warranty options are crucial.
Aftercare and Warranty
Handle your new screen with care. Avoid pressure for the first 24 hours to let adhesives set. Use a screen protector to prevent scratches. Clean gently with a microfiber cloth.
Check your warranty status. Apple’s limited warranty may cover manufacturing defects. AppleCare+ offers extended protection for accidental damage. Third-party repairs might void your warranty.
Keep your repair receipt. It’s needed for warranty claims or future service. If issues arise, contact the repair provider promptly. They may offer a short-term guarantee on their work.
| Warranty Type | Coverage Duration | Accidental Damage |
|---|---|---|
| Limited | 1 year | No |
| AppleCare+ | 2 years | Yes (with fee) |
| Third-Party | Varies | Varies |
Long-term Maintenance
Protect your screen daily. Use a case with raised edges. Avoid extreme temperatures that can damage the display. Update iOS regularly for optimal performance.
Be cautious with cleaning products. Stick to approved methods to prevent damage. Avoid moisture near edges or ports. If you notice any issues like dead pixels or touch sensitivity problems, address them quickly.
Consider the Repair Assistant for iPhones running iOS 18 or newer. It helps calibrate new screens and restore features like True Tone. This tool is especially useful for DIY repairs or when using genuine Apple parts.
Regular software updates can improve screen performance. They often include display optimizations and bug fixes. Keep your iPhone’s operating system current for the best experience with your new screen.
Frequently Asked Questions
After replacing your iPhone screen, you may encounter several issues. These can range from data retention concerns to functionality problems. Let’s address some common questions to help you navigate post-replacement challenges.
How can I ensure data retention following an iPhone screen replacement?
Back up your iPhone before the screen replacement. Use iCloud or iTunes to create a full backup. After the replacement, check if all your data is intact. If not, restore from your backup to recover any lost information.
Why is my iPhone screen unresponsive after I’ve had it replaced?
An unresponsive screen might be due to a loose connection. Power off your iPhone and gently press around the screen edges. This can help seat the connectors properly. If the issue persists, return to the repair shop for a checkup.
What steps are involved in resetting an iPhone after a screen replacement?
Go to Settings > General > Reset. Choose “Reset All Settings” to recalibrate your device. This won’t erase your data but will reset system settings. After the reset, your iPhone should work smoothly with the new screen.
How do I troubleshoot ‘ghost touch’ issues on an iPhone after changing the screen?
Ghost touch occurs when your screen responds to nonexistent touches. Clean your screen with a soft, lint-free cloth. Update your iOS to the latest version. If the problem continues, the screen might be faulty or improperly installed.
After replacing my iPhone screen, what should I inspect to ensure proper functionality?
Test the touch sensitivity across the entire screen. Check the brightness levels and color accuracy. Verify that Face ID works if your iPhone has this feature. Ensure the proximity sensor functions correctly during calls.
Is it possible to re-enable True Tone following an iPhone screen replacement?
True Tone can be re-enabled after a screen replacement by Apple or an authorized service provider. They use special equipment to recalibrate the display. Third-party repairs typically can’t restore True Tone functionality.
| Feature to Check | How to Test |
|---|---|
| Touch Sensitivity | Swipe and tap across the screen |
| Display Quality | Adjust brightness, view images |
| Face ID | Try unlocking your phone |
| Proximity Sensor | Make a call, move phone to ear |
| True Tone | Check display settings |


